
The one step everyone misses
The apps are made by Bitwarden and they assume you are using their cloud service. You are not: you have your own server in Australia. So before you sign in, you have to tell the app where your vault is.
Type your vault name and every step on this page will show your real address. Just the name, such as acme, or the full address if you brought your own domain.
https://acme.vault.businessops.com.au Showing an example address. Enter your own vault name above to personalise these steps.
If you skip this, your email and password will be rejected. Not because they are wrong, but because the app is asking the wrong server. An app that says your details are incorrect on the very first try is almost always still pointed at the Bitwarden cloud.
The setting is in the same place on every device: on the sign-in screen, before you type anything. It is called Logging in on in the browser extension and the mobile apps, and Accessing in the desktop app. Whichever it is called, choose Self-hosted, put your address in Server URL, and save.
Where to get the apps
Download them from bitwarden.com/download, or search your app store or browser extension store for Bitwarden. They are free, and there is nothing to buy inside them. Your BusinessOps subscription is what pays for the vault they connect to.
Install the browser extension first. It is the one people use fifty times a day. The phone app is second, because that is where you will need a password when you are not at your desk.
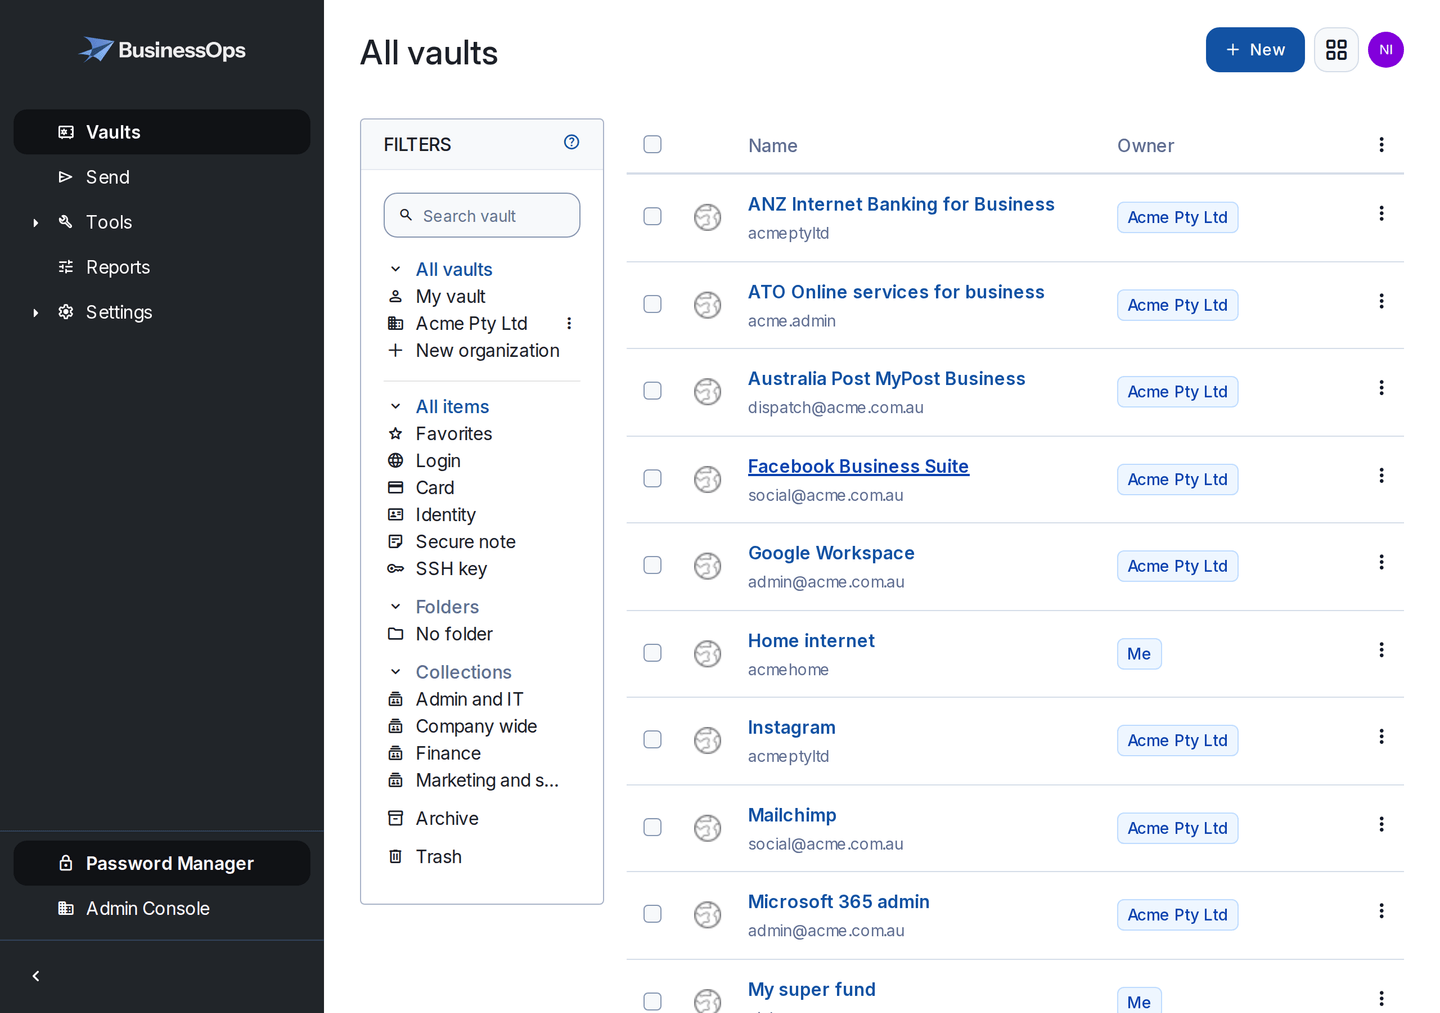
Browser extension
Chrome, Edge, Firefox, Safari, Brave, Opera and Vivaldi all work.
Install the extension and pin it
After installing, pin it to your toolbar so the icon is always visible. In Chrome and Edge that is the puzzle piece icon, then the pin next to Bitwarden.
Open it and select Logging in on
This is the dropdown at the top of the sign-in screen. Do this before typing your email address.
Choose Self-hosted
Enter your address in Server URL
Include
https://. The whole thing ishttps://acme.vault.businessops.com.au.Select Save, then sign in
Your email address and your master password. If you have already turned on two-step login, you will be asked for your code here.
Try it on a real site
Visit a site you have saved and the extension will offer to fill it. Log in to a new site and it will offer to save it. Say yes: that is how your vault fills up without a migration project.
iPhone and iPad
Install Bitwarden from the App Store
On the sign-in screen, select Logging in on
Then Self-hosted.
Enter your address in Server URL and save
https://acme.vault.businessops.com.au. Typing it on a phone is miserable, so copy it above and paste it, or email it to yourself.Sign in, then turn on autofill
Open the iPhone Settings app and search for autofill. Turn Bitwarden on in the list of apps allowed to fill passwords. Without this, apps and Safari will not offer your saved logins.
Turn on Face ID or Touch ID unlock
In the Bitwarden app settings. You will unlock with your face many times a day and type your master password rarely, which is exactly the point.
Android
Install Bitwarden from the Play Store
On the sign-in screen, select Logging in on, then Self-hosted
Enter your address in Server URL and save
https://acme.vault.businessops.com.auSign in, then turn on the autofill service
Open Android Settings and search for autofill. Choose the autofill service and select Bitwarden. The app will also prompt you to do this the first time you open it.
Turn on fingerprint unlock
In the Bitwarden app settings.
Windows, Mac and Linux desktop
Optional, but worth it if you want to unlock the browser extension with Windows Hello or Touch ID instead of typing your master password.
Install the desktop app
On the sign-in screen, select Accessing
The desktop app calls it Accessing rather than Logging in on. Same setting.
Choose Self-hosted, enter your address, save
https://acme.vault.businessops.com.auSign in and turn on biometric unlock
In the desktop app settings. You can then let the browser extension unlock through the desktop app, so a fingerprint unlocks both.
Command line
For anyone scripting deployments or pulling secrets into a build. Skip this if it is not you.
| Step | Command |
|---|---|
| Clear any existing session | bw logout |
| Point it at your vault | bw config server https://acme.vault.businessops.com.au |
| Sign in | bw login |
The server has to be set while you are logged out. Setting it while a session is active is the usual reason the command line keeps talking to the wrong server.
Two settings worth changing on day one
- Unlock with biometrics or a PIN. Otherwise people type their master password twenty times a day, and passwords typed twenty times a day get shoulder surfed and get shortened. Set it on every device.
- Vault timeout. Decide what happens when the app has been idle. On a laptop that leaves the office, locking after 15 or 30 minutes is sensible. Set the action to lock rather than log out, so unlocking is quick.
Tell your team both of these when you invite them. A password manager people find annoying is a password manager people work around, and the workaround is a spreadsheet.
App will not connect?
Nine times out of ten it is the server address. See the app will not connect, or email hello@businessops.com.au.