
Adding someone takes three steps, not one
This catches almost every new admin, so it is worth 30 seconds up front. Adding a person is: you invite, they accept, then you confirm. Until you do that last step they can sign in but they cannot see a single shared login.
"I invited them and they say the vault is empty." They are sitting at step two. Go to Members, find the person marked Accepted, and confirm them. That is the whole fix.
The reason it works this way is not bureaucracy. Confirming is the moment the encryption key for your shared collections is handed to that person's account, and it can only happen after they have created their own keys. It is the step that keeps us out of your data too.
Step 1: invite them
Open the Admin Console
Sign in to your vault and switch from Password Manager to Admin Console. That is where everything about your organisation lives.
Go to Members and select Invite member
Enter their work email address
You can paste several at once, separated by commas, if you are setting up the whole team in one go.
Choose their role and their collections
Role decides what they can administer. Collections decide what they can see. Both are covered below, and both can be changed later.
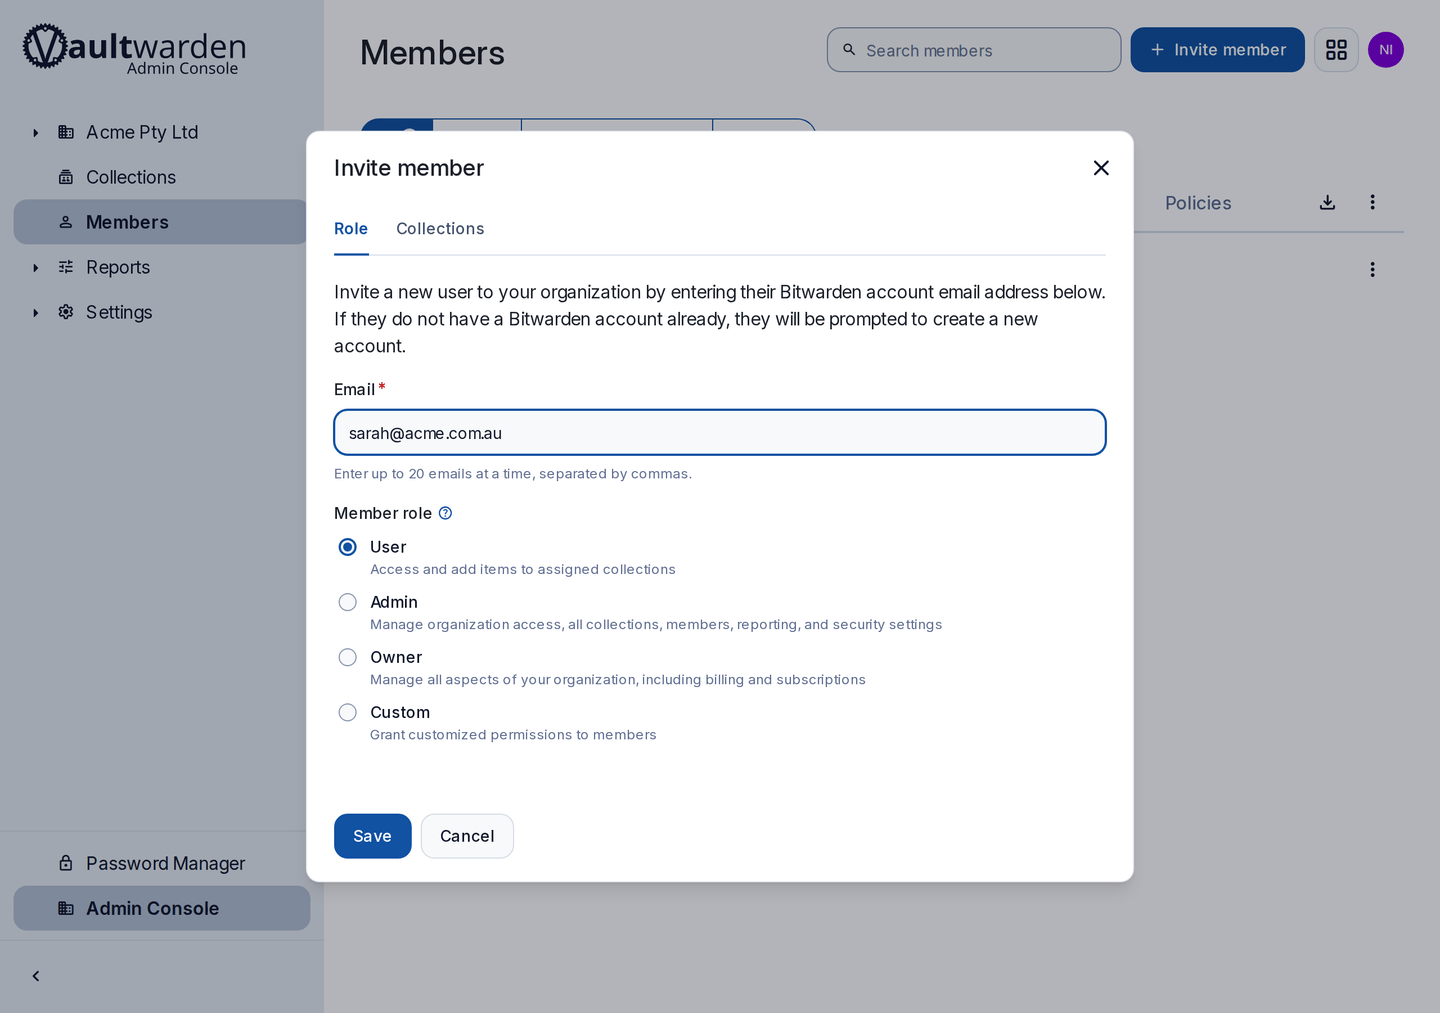
The invite dialog. The Collections tab next to Role is where you tick what this person will be able to see. Save
They get an email straight away. It is valid for 5 days. After that you simply invite them again.
Use work email addresses. An account tied to a personal Gmail is one you cannot cut off when the person leaves, because you do not control the inbox that resets it.
Step 2: they accept
What your new team member does, and what to tell them:
Open the invite email and follow the link
It comes from
noreply@businessops.com.au. Tell people to check spam, because a first email from a new address often lands there.Create their own master password
Theirs, not yours, and never one shared around the office. Point them at the advice in choosing a master password. You will never see it and neither will we.
Sign in on the web once
The invitation is only accepted once they have logged in to the web vault at
https://acme.vault.businessops.com.au. Installing the app is not enough on its own.
Worth pasting into the message you send people along with their invite.
https://acme.vault.businessops.com.au Showing an example address. Enter your own vault name above to personalise these steps.
Step 3: you confirm them
Go back to Members
The person now shows as Needs confirmation instead of Invited, and a banner appears at the top of the list.
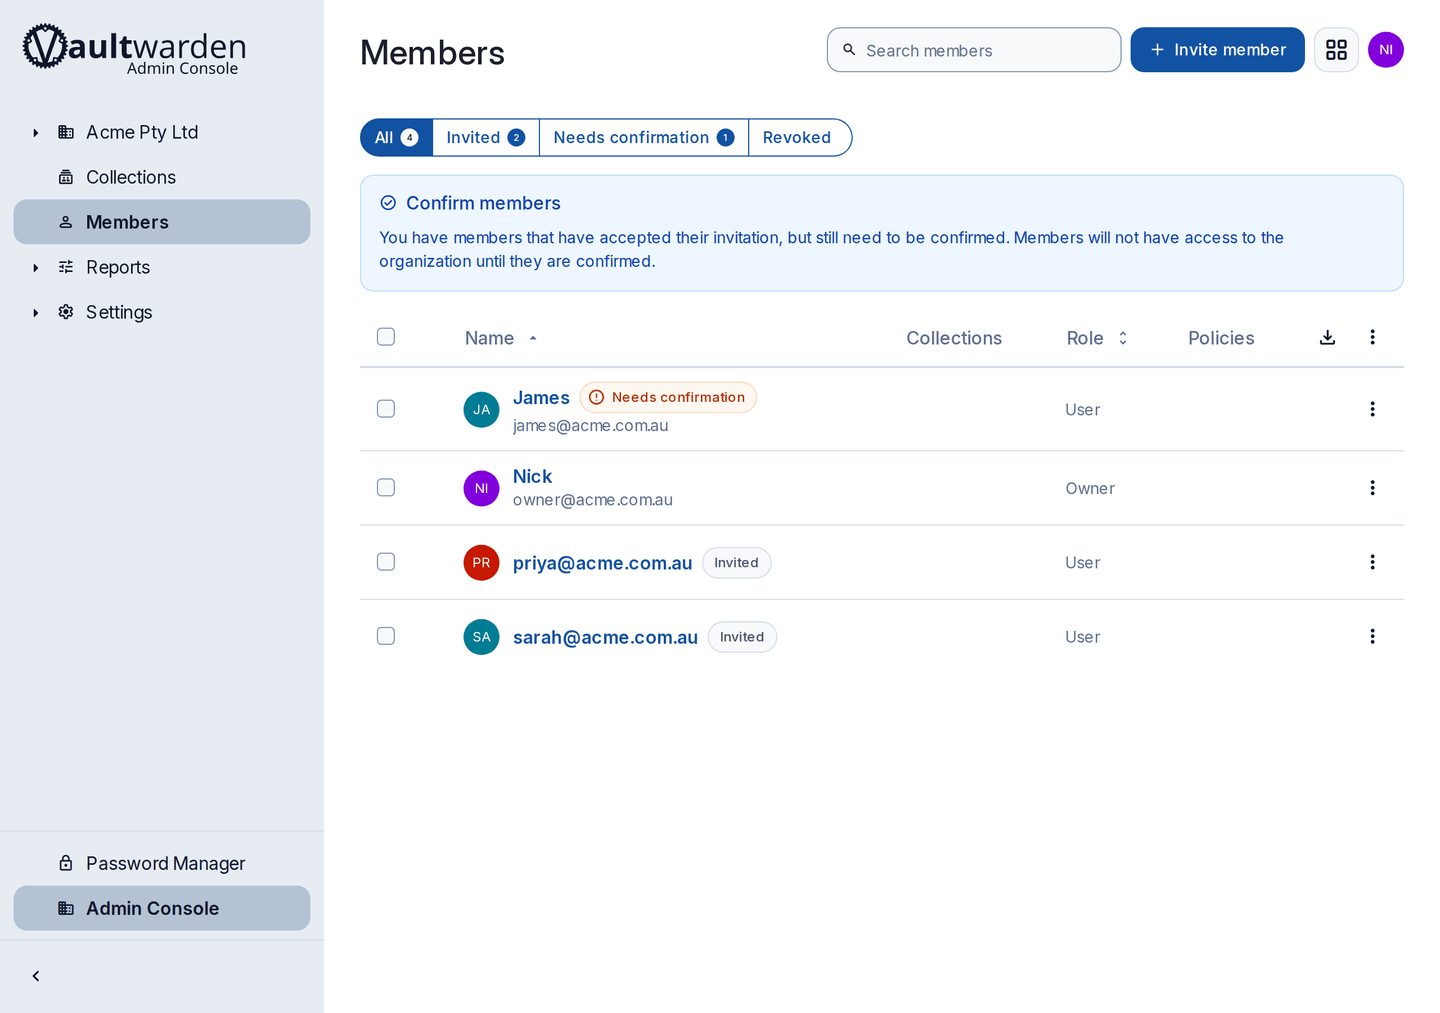
Two people still sitting on their invite, one waiting to be confirmed. Until you confirm them they can sign in but see nothing. Select them, then Confirm
Check the fingerprint phrase
You are shown five odd looking words. Ask the person to read out the fingerprint phrase from their own account settings and check they match. On the phone, in person, not over email.
This takes ten seconds and it is the check that would catch someone impersonating your new hire at exactly the moment access is granted. If the words do not match, do not confirm, and tell us.
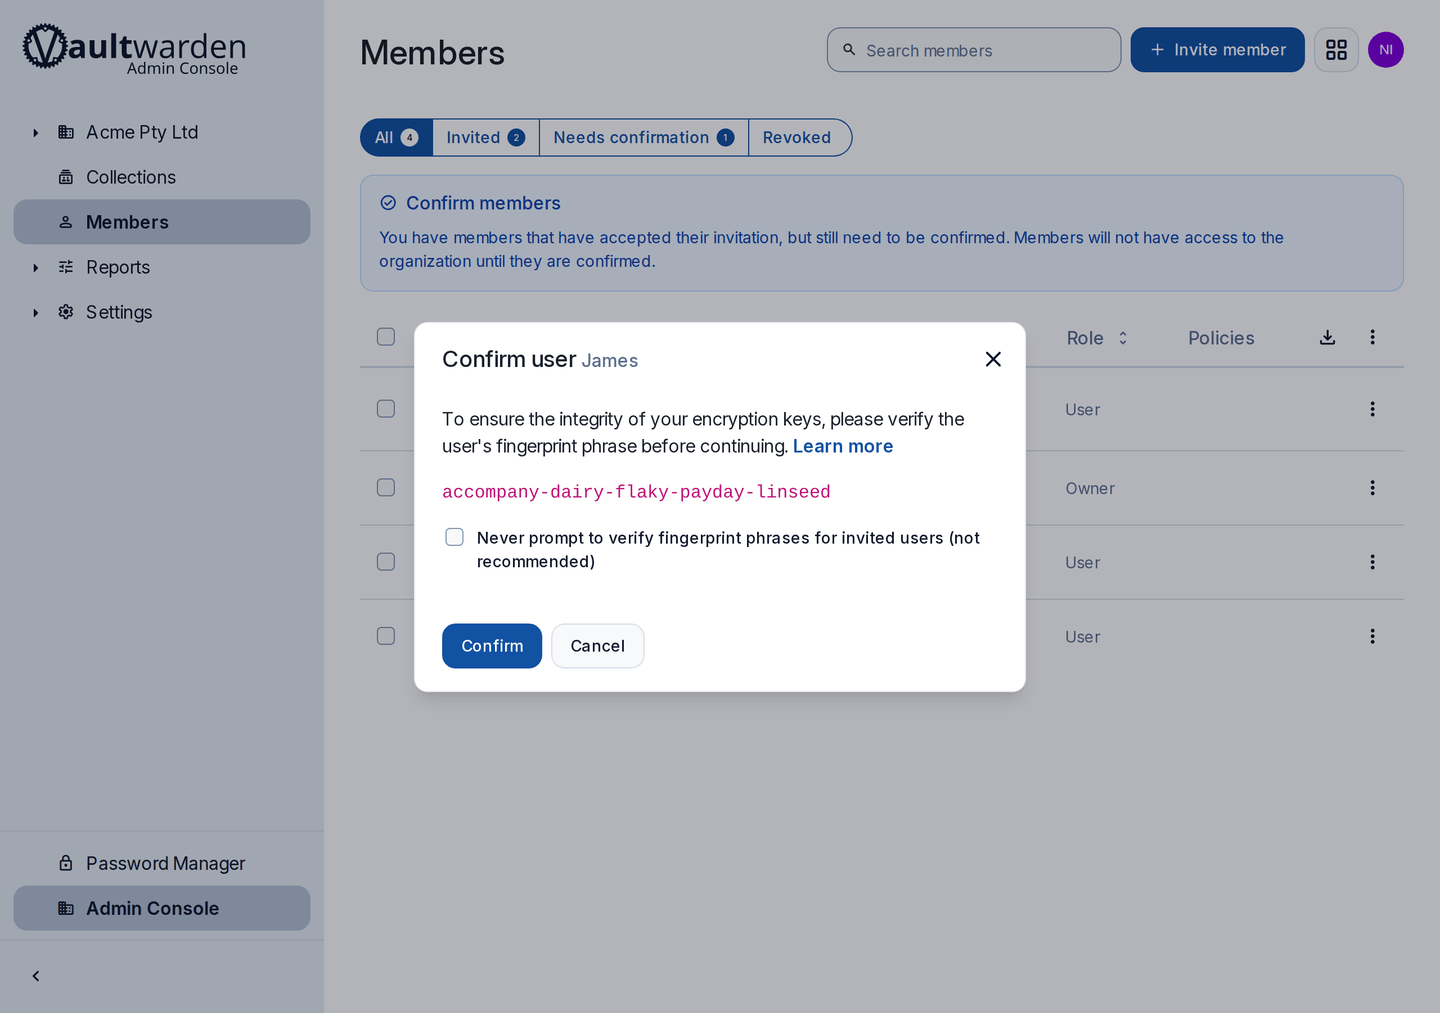
The five words the new member sees in their own account settings must match these exactly. Read them out loud, do not email them. Done
Their status becomes Confirmed and the shared logins appear in their vault within seconds.
Which role to give people
| Role | Give it to | They can |
|---|---|---|
| Owner | You, and one other person you trust completely | Everything, including managing other owners and deleting the organisation |
| Admin | An office manager or 2IC who onboards staff | Invite and confirm people, create collections, manage access |
| User | Everyone else | Use the logins in the collections you give them, and keep their own private items |
| Custom | Nobody, until you have a reason | Hand-picked permissions. Useful eventually, needless complexity on day one |
Have a second owner. One owner is a single point of failure: a phone in the surf and a forgotten master password, and nobody can administer your vault. Two owners costs nothing and fixes that. Set up emergency access as well.
Deciding who sees what
Access is granted per collection, per person. When you invite someone, or later from Members, you tick the collections they get and choose what they can do in each.
- View only is right for most people and most collections. They can use the logins, they cannot change them.
- Edit for the people who actually maintain those accounts and rotate the passwords.
- Hide passwords lets someone fill a login without ever being shown the password itself. Useful for a casual or a contractor who needs to get into a system but has no business knowing the password if they are working elsewhere next month.
Group assignment is not enabled on your vault. You assign collections to people directly. With a team of up to 20 that is quicker anyway, and it removes a whole category of "why can they see that" surprise.
A sensible starting arrangement
- Everyone gets Company wide, view only.
- Finance goes to you and the bookkeeper, and to nobody else.
- Each function, marketing, operations, gets its own collection and only the people doing that work.
- Contractors get exactly one collection, with hide passwords on.
Sharing a password with someone outside the business
Your accountant needs a login for one afternoon. Do not text it. Use a Send: a link that carries the secret, that you can put a password on, that expires, and that can be limited to one view.
Open Send in the app or web vault
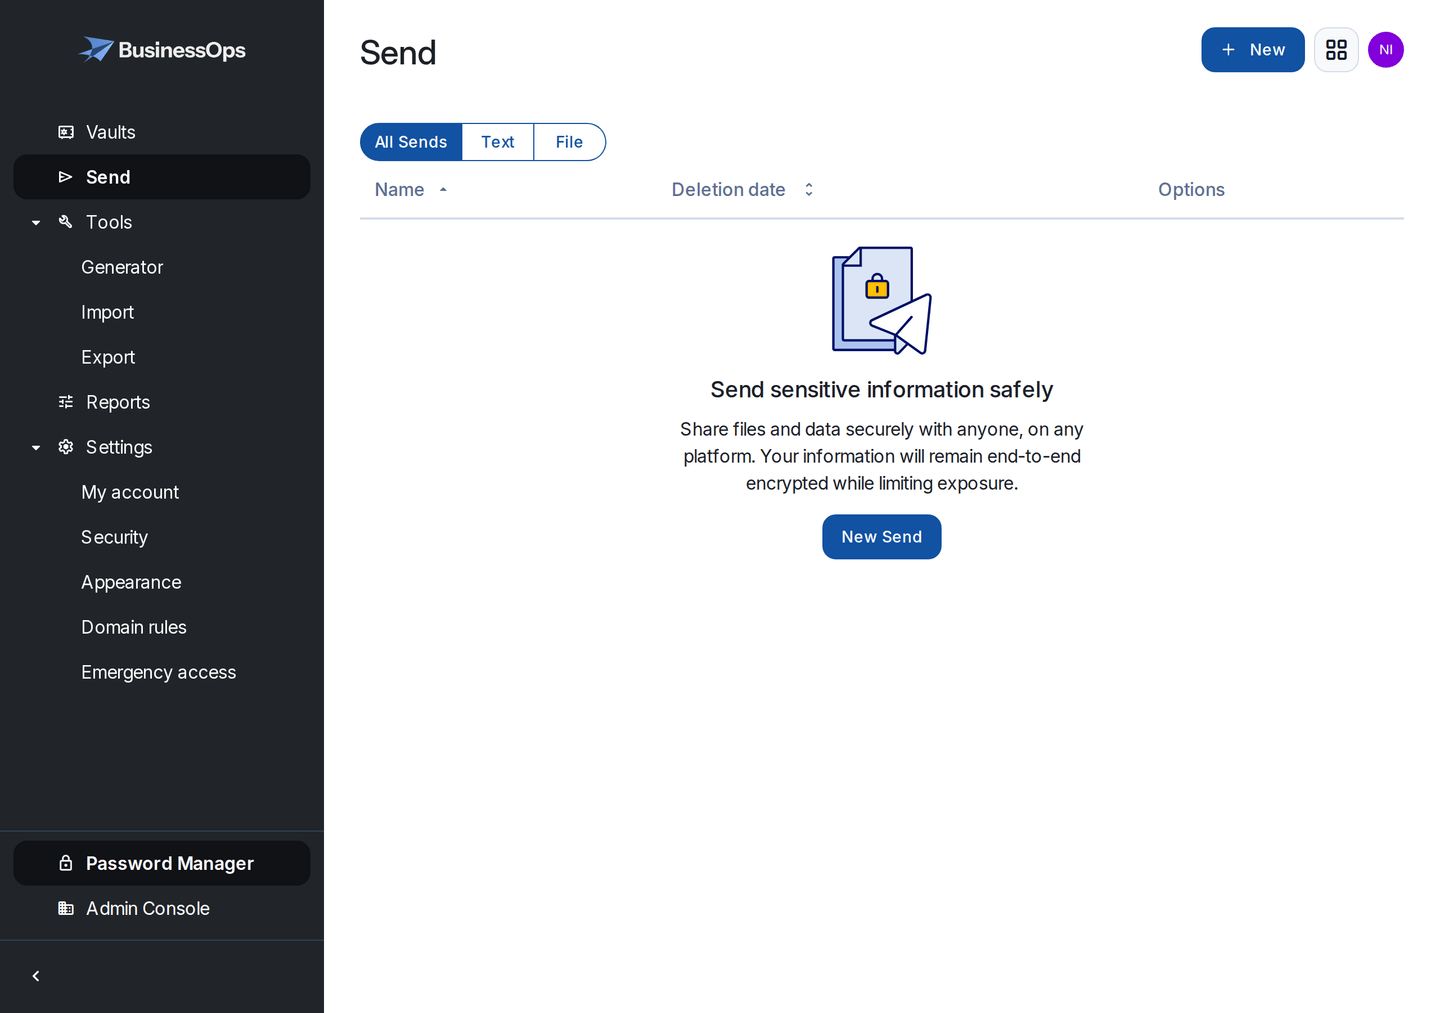
Send is in the main menu, above Tools. A Send lives outside your collections and disappears on the date you set. Create a text Send with the password in it
Set a deletion date and a maximum number of views
One view and 24 hours is a good default for a one off. Add a separate password on the Send if the link itself is going somewhere you do not fully trust.
Send the link, then delete the Send when they confirm
A Send is for one off situations. If you find yourself sending the same login every month, that person should have a proper account with a collection instead.
When someone leaves
This is the whole reason a business runs a password manager, so do it properly. Removing them from the vault is step one of three.
Revoke or remove them in Members
Revoke access suspends the account and keeps it in the list, which is right for a suspension or a dispute. Remove takes them out for good. Either way their access to your shared collections stops.
Change the passwords they actually knew
This is the step people skip and it is the important one. A password manager can take away access, it cannot make a person forget something they read last Tuesday, or delete a screenshot on their own phone. Rotate anything sensitive: banking, email, the domain registrar, the socials.
If everything was in a collection with hide passwords on, and they only ever filled logins rather than reading them, you have far less to rotate. That is the payoff for setting it up that way.
Check what was in their personal vault
Anything they saved to My vault rather than the organisation was never yours and goes with them. If they kept a business login there, get it moved into a collection before their last day. Put that on your offboarding checklist.
Removing a person does not cost you a seat forever. Your plan covers up to 20 people at any one time. Remove someone and the seat is free for the next hire.
Someone stuck part way through?
Check when something is not working, or email hello@businessops.com.au with the person's status as shown in Members.